Table of Contents [expand]
Last updated November 18, 2024
This add-on is operated by Stackhero
RabbitMQ on dedicated instances, up-to-date versions and super attractive prices
Stackhero for RabbitMQ provides a managed RabbitMQ running on a fully dedicated instance. It provides the following features:
- A private instance (dedicated VM) for high performances and security
- TLS encryption (aka SSL)
- An automatic backup every 24 hours
- One click to update to new RabbitMQ versions
- The ability to start some RabbitMQ plugins
- The access to AMQP, MQTT and STOMP protocols
Provisioning the Add-on
Stackhero for RabbitMQ can be attached to a Heroku application via the CLI:
A list of all plans available can be found here.
$ heroku addons:create ah-rabbitmq-stackhero --app <your app name>
-----> Adding ah-rabbitmq-stackhero to sharp-mountain-4005... done
After you provision Stackhero for RabbitMQ, the STACKHERO_RABBITMQ_HOST, STACKHERO_RABBITMQ_USER, and STACKHERO_RABBITMQ_PASSWORD config variables are available in your app’s configuration. They contain the URL and credential to connect to your RabbitMQ instance.
Stackhero for RabbitMQ supports the following protocols:
- AMQP
- MQTT
- STOMP
Enable or disable them in your Stackhero dashboard.
Retrieve the URL for each protocol by reading the following environment variables:
- STACKHERO_RABBITMQ_AMQP_URL_TLS
- STACKHERO_RABBITMQ_MQTT_URL_TLS
- STACKHERO_RABBITMQ_STOMP_URL_TLS
You can see the content of these variables via the heroku config:get command:
$ heroku config:get STACKHERO_RABBITMQ_AMQP_URL_TLS
$ heroku config:get STACKHERO_RABBITMQ_MQTT_URL_TLS
$ heroku config:get STACKHERO_RABBITMQ_STOMP_URL_TLS
Local Setup
After you provision the add-on, you must replicate its config variables locally.
Use the Heroku Local command-line tool to configure, run, and manage process types specified in your app’s Procfile. Heroku Local reads configuration variables from an .env file. To view all of your app’s config variables, type heroku config. Use the following command for each value you want to add to your .env file:
heroku config:get <STACKHERO_MEMCACHED_VARIABLE> -s >> .env
For example:
$ heroku config:get STACKHERO_RABBITMQ_AMQP_URL_TLS -s >> .env
Don’t commit credentials and other sensitive configuration values to source-control. In Git, exclude the .env file with: echo .env >> .gitignore.
For more information, see Heroku Local.
Connect to Stackhero Dashboard
View your instance usage, restart it, and apply updates with the Stackhero dashboard. You can access the dashboard via the CLI:
$ heroku addons:open ah-rabbitmq-stackhero
Opening ah-rabbitmq-stackhero for sharp-mountain-4005
You can also visit the Heroku Dashboard, select your application, and then select Stackhero for RabbitMQ from the Add-ons menu.
Connecting to RabbitMQ
RabbitMQ uses the AMQP protocol. Select a client library that supports AMQP protocol.
Connect to your RabbitMQ instance with the STACKHERO_RABBITMQ_AMQP_URL_TLS environment variable. It contains your instances host, port, and credentials.
RabbitMQ with GoLang
Here is a simple example to connect to RabbitMQ from a GoLang app using the official Go RabbitMQ Client Library.
- Create a new directory and initialize the module:
go mod init rabbitmq-example. - Add the RabbitMQ library:
go get github.com/rabbitmq/amqp091-go. Create a new file named
main.goand add this content:package main import ( "fmt" "os" amqp "github.com/rabbitmq/amqp091-go" ) func main() { connection, err := amqp.Dial(os.Getenv("STACKHERO_RABBITMQ_AMQP_URL_TLS")) AMQP_URL_TLS if err != nil { panic(err) } defer connection.Close() fmt.Println("Successfully connected to RabbitMQ instance") }Run your code:
go run main.go.
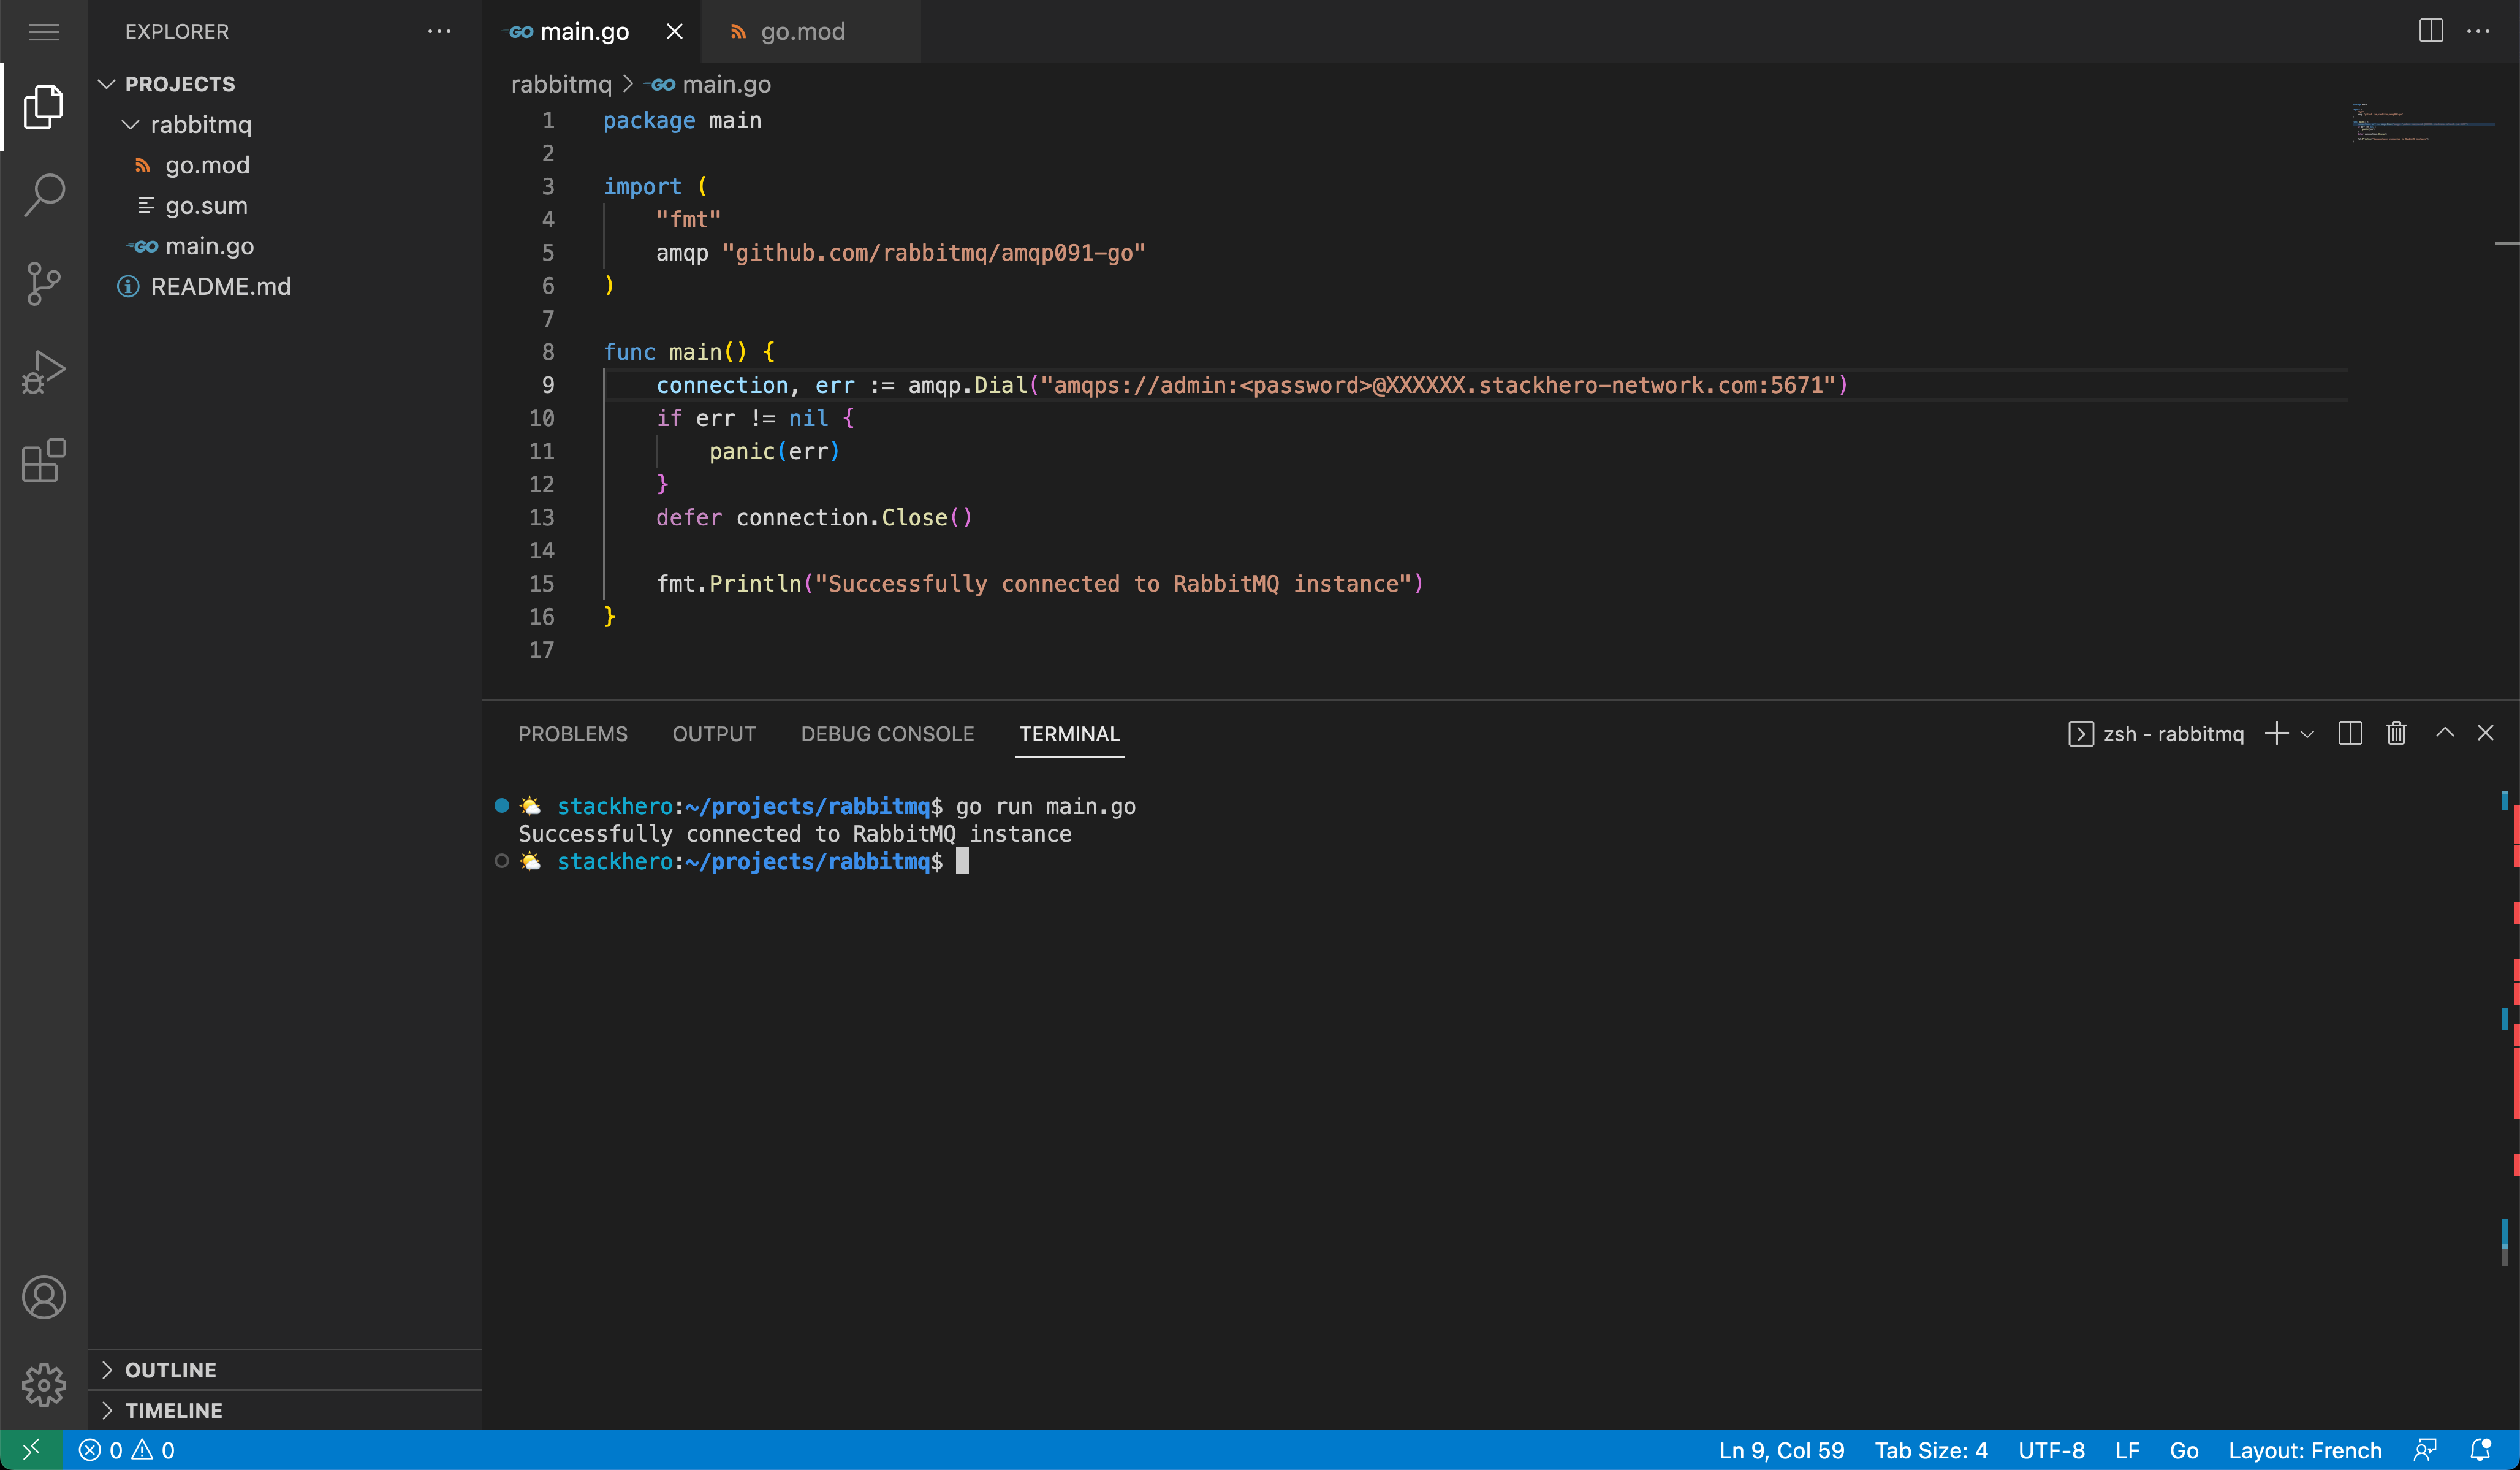
You should see the sentence “Successfully connected to RabbitMQ instance” meaning your code has connect to your RabbitMQ instance in a secured way, using authentication and TLS encryption (amqps URL).
To go further, you’ll find some Go examples on the official RabbitMQ repository here: https://github.com/rabbitmq/rabbitmq-tutorials/tree/main/go.
RabbitMQ with PHP
Here is a simple example to connect to RabbitMQ from PHP using the library php-amqplib.
As Stackhero instances use TLS encryption (SSL), you have to use AMQPSSLConnection to connect to your RabbitMQ server.
use PhpAmqpLib\Connection\AMQPSSLConnection;

$rabbitmq_url = getenv('STACKHERO_RABBITMQ_AMQP_URL_TLS');

$parsed_url = parse_url($rabbitmq_url);
$host = $parsed_url['host'];
$port = $parsed_url['port'] ?? 5671;
$user = $parsed_url['user'];
$password = $parsed_url['pass'];

$connection = new AMQPSSLConnection($host, $port, $user, $password, '/', array());

/**
 * @param \PhpAmqpLib\Connection\AbstractConnection $connection
 */
function shutdown($connection)
{
  $connection->close();
}

register_shutdown_function('shutdown', $connection);
Manually download the CA certificate
The TLS connection requires a Certificate Authority (CA). This certificate is probably yet installed on your server and there is a good chance it will work directly. If it is not the case, you can download the certificate by clicking here and save it to your server.
You can then use this code to connect using the CA certificate “isrgrootx1.pem”:
$sslOptions = array(
  'cafile' => realpath(__DIR__ . '/isrgrootx1.pem'),
);

$rabbitmq_url = getenv('STACKHERO_RABBITMQ_AMQP_URL_TLS');

$parsed_url = parse_url($rabbitmq_url);
$host = $parsed_url['host'];
$port = $parsed_url['port'];
$user = $parsed_url['user'];
$password = $parsed_url['pass'];

$connection = new AMQPSSLConnection($host, $port, $user, $password, '/', $sslOptions);
RabbitMQ with PHP/Symfony
Symfony can use RabbitMQ as a message broker by setting the MESSENGER_TRANSPORT_DSN environment variable.
To do so, edit the .env file and configure the MESSENGER_TRANSPORT_DSN environment variable as follows:
MESSENGER_TRANSPORT_DSN=amqps://<USER>:<PASSWORD>@<HOST>:<PORT>/%2f/messages?cacert=%2Fetc%2Fssl%2Fcerts%2Fca-certificates.crt
Replace
<USER>,<PASSWORD>,<HOST>and<PORT>with your RabbitMQ informations.
Ensure the file config/packages/messenger.yaml is configured to use the MESSENGER_TRANSPORT_DSN variable.
It should look like this:
framework:
    messenger:
        transports:
            async: '%env(MESSENGER_TRANSPORT_DSN)%'
RabbitMQ with Python
In this example we will use Aio Pika library to connect Python to RabbitMQ.
In many case you’ll just have to put the AMQPS URL like this:
rabbitmq_url = os.getenv("STACKHERO_RABBITMQ_AMQP_URL_TLS")
connection = await aio_pika.connect_robust(rabbitmq_url)
Here is a complete Python example code to connect to RabbitMQ:
import asyncio
import logging
import aio_pika
import os

async def main() -> None:
  # Uncomment to activate debug logs
  # logging.basicConfig(level=logging.DEBUG)

  rabbitmq_url = os.getenv("STACKHERO_RABBITMQ_AMQP_URL_TLS")
  connection = await aio_pika.connect_robust(rabbitmq_url)

  async with connection:
    print("The connection worked!")
    channel = await connection.channel()
    await channel.set_qos(prefetch_count=10)
    queue = await channel.declare_queue("test_queue", auto_delete=True)


if __name__ == "__main__":
  asyncio.run(main())
Handling error unable to get local issuer certificate
If, when trying to connect to RabbitMQ from Python, you get the error aiormq.exceptions.AMQPConnectionError: [Errno 5] [SSL: CERTIFICATE_VERIFY_FAILED] certificate verify failed: unable to get local issuer certificate (_ssl.c:1006), this is probably because you don’t have the Let’s Encrypt certificate on your computer (or server).
Here is how to install the common CA certificates:
- On Ubuntu/Debian, you can install them with
sudo apt install ca-certificates. - On Alpine Linux, install them with
apk add ca-certificates.
If you can’t install these CA certificates using these command, here is an example to do it manually:
- Download the Let’s Encrypt CA certificate at https://letsencrypt.org/certs/isrgrootx1.pem
- In your Python code, connect to RabbitMQ passing the CA certificate file:
import ssl

ssl_context = ssl.create_default_context()
ssl_context.load_verify_locations(cafile='isrgrootx1.pem')

rabbitmq_url = os.getenv("STACKHERO_RABBITMQ_AMQP_URL_TLS")
connection = await aio_pika.connect_robust(rabbitmq_url, ssl_context=ssl_context)
Here is a complete Python example code to connect to RabbitMQ using Let’s Encrypt CA certificate:
import asyncio
import logging
import ssl
import aio_pika

async def main() -> None:
  # Uncomment to activate debug logs
  # logging.basicConfig(level=logging.DEBUG)

  ssl_context = ssl.create_default_context()
  # Manually load the Let's Encrypt CA certificate.
  # You can download it using this command: wget https://letsencrypt.org/certs/isrgrootx1.pem
  ssl_context.load_verify_locations(cafile='isrgrootx1.pem')

  rabbitmq_url = os.getenv("STACKHERO_RABBITMQ_AMQP_URL_TLS")
  connection = await aio_pika.connect_robust(rabbitmq_url, ssl_context=ssl_context)

  async with connection:
    print("The connection worked!")
    channel = await connection.channel()
    await channel.set_qos(prefetch_count=10)
    queue = await channel.declare_queue("test_queue", auto_delete=True)


if __name__ == "__main__":
  asyncio.run(main())
RabbitMQ with .NET and MassTransit
Here is an example of how to connect to Stackhero RabbitMQ using .NET and MassTransit:
using MassTransit;
using Microsoft.Extensions.DependencyInjection;
using Microsoft.Extensions.Hosting;
using System;

public class Program
{
  public static void Main(string[] args)
  {
    var host = Host.CreateDefaultBuilder(args)
      .ConfigureServices((context, services) =>
      {
        services.AddMassTransit(x =>
        {
          x.UsingRabbitMq((context, cfg) =>
          {
            var rabbitMqUrl = Environment.GetEnvironmentVariable("STACKHERO_RABBITMQ_AMQP_URL_TLS");
            cfg.Host(new Uri(rabbitMqUrl), h =>
            {
              h.UseSsl(s =>
              {
                s.Protocol = System.Security.Authentication.SslProtocols.Tls12;
              });
            });
          });
        });

        services.AddMassTransitHostedService(true);
      })
      .Build();

    host.Run();
  }
}
Upgrading Your Plan
You can’t downgrade an existing add-on.
Use the heroku addons:upgrade command to migrate to a new plan.
$ heroku addons:upgrade ah-rabbitmq-stackhero:newplan
-----> Upgrading ah-rabbitmq-stackhero:newplan to sharp-mountain-4005... done
       Your plan has been updated to: ah-rabbitmq-stackhero:newplan
Manage migration timing to ensure your application is available during the migration process.
Removing the Add-on
You can remove Stackhero for RabbitMQ via the CLI:
This destroys all associated data and can’t be undone!
$ heroku addons:destroy ah-rabbitmq-stackhero
-----> Removing ah-rabbitmq-stackhero from sharp-mountain-4005... done
Support
Stackhero for RabbitMQ support and runtime issues should be submitted via one of the Heroku Support channels. We recommend adding support@stackhero.io in copy for urgent issues.
Additional Resources
- RabbitMQ documentation by Stackhero
- RabbitMQ managed cloud hosting