Last updated August 20, 2026
Heroku Teams (previously called “Heroku Team Organizations”) provides a collaboration environment for you and your workgroup. You can invite other Heroku users, purchase and configure resources, assign permissions, delegate administration, and set up unified billing for every Heroku resource your Team uses.
Heroku Teams is simple, effective support for small to medium groups building important projects.
Setting Up Your Heroku Team
Any Heroku user can create a Team directly from the context switcher menu in the Dashboard, where you can find your Teams and Personal apps. If you’re a member of any Heroku Enterprise Teams, they’re listed here as well.
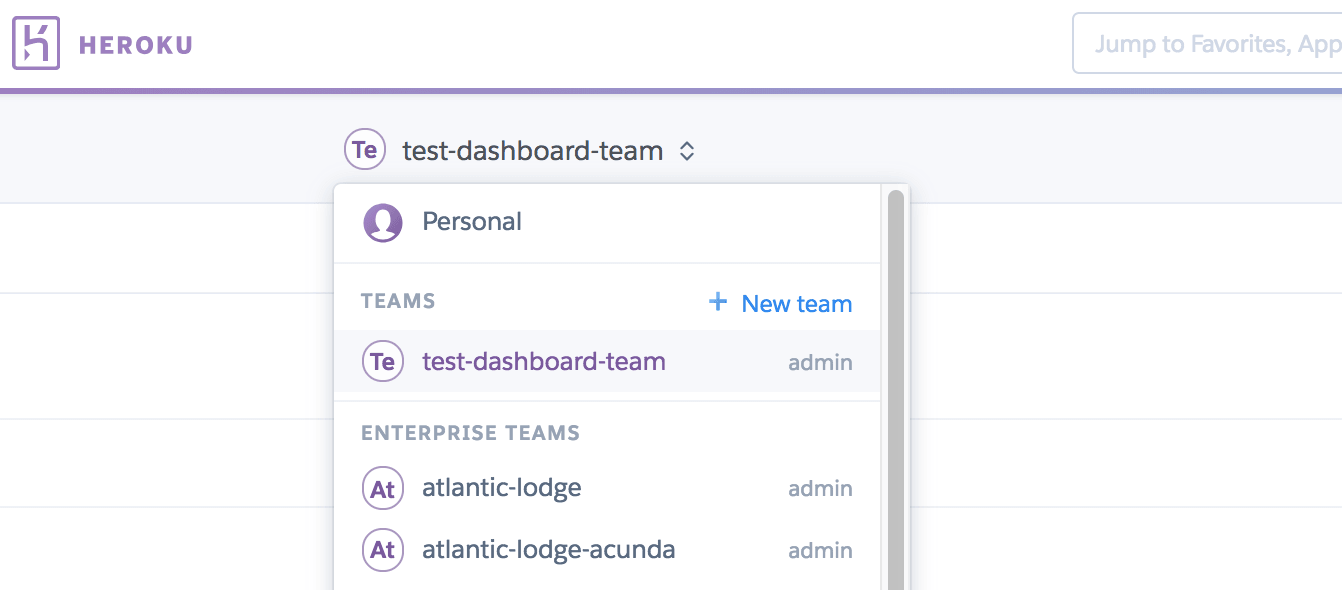
In the setup flow for each Team you create, you name your team and confirm your identity by entering your credit card information. You can rename your teams from the Settings tab of your Dashboard.
The credit card for a given team is used to pay for all team-owned resources. You can use a different credit card for each team.
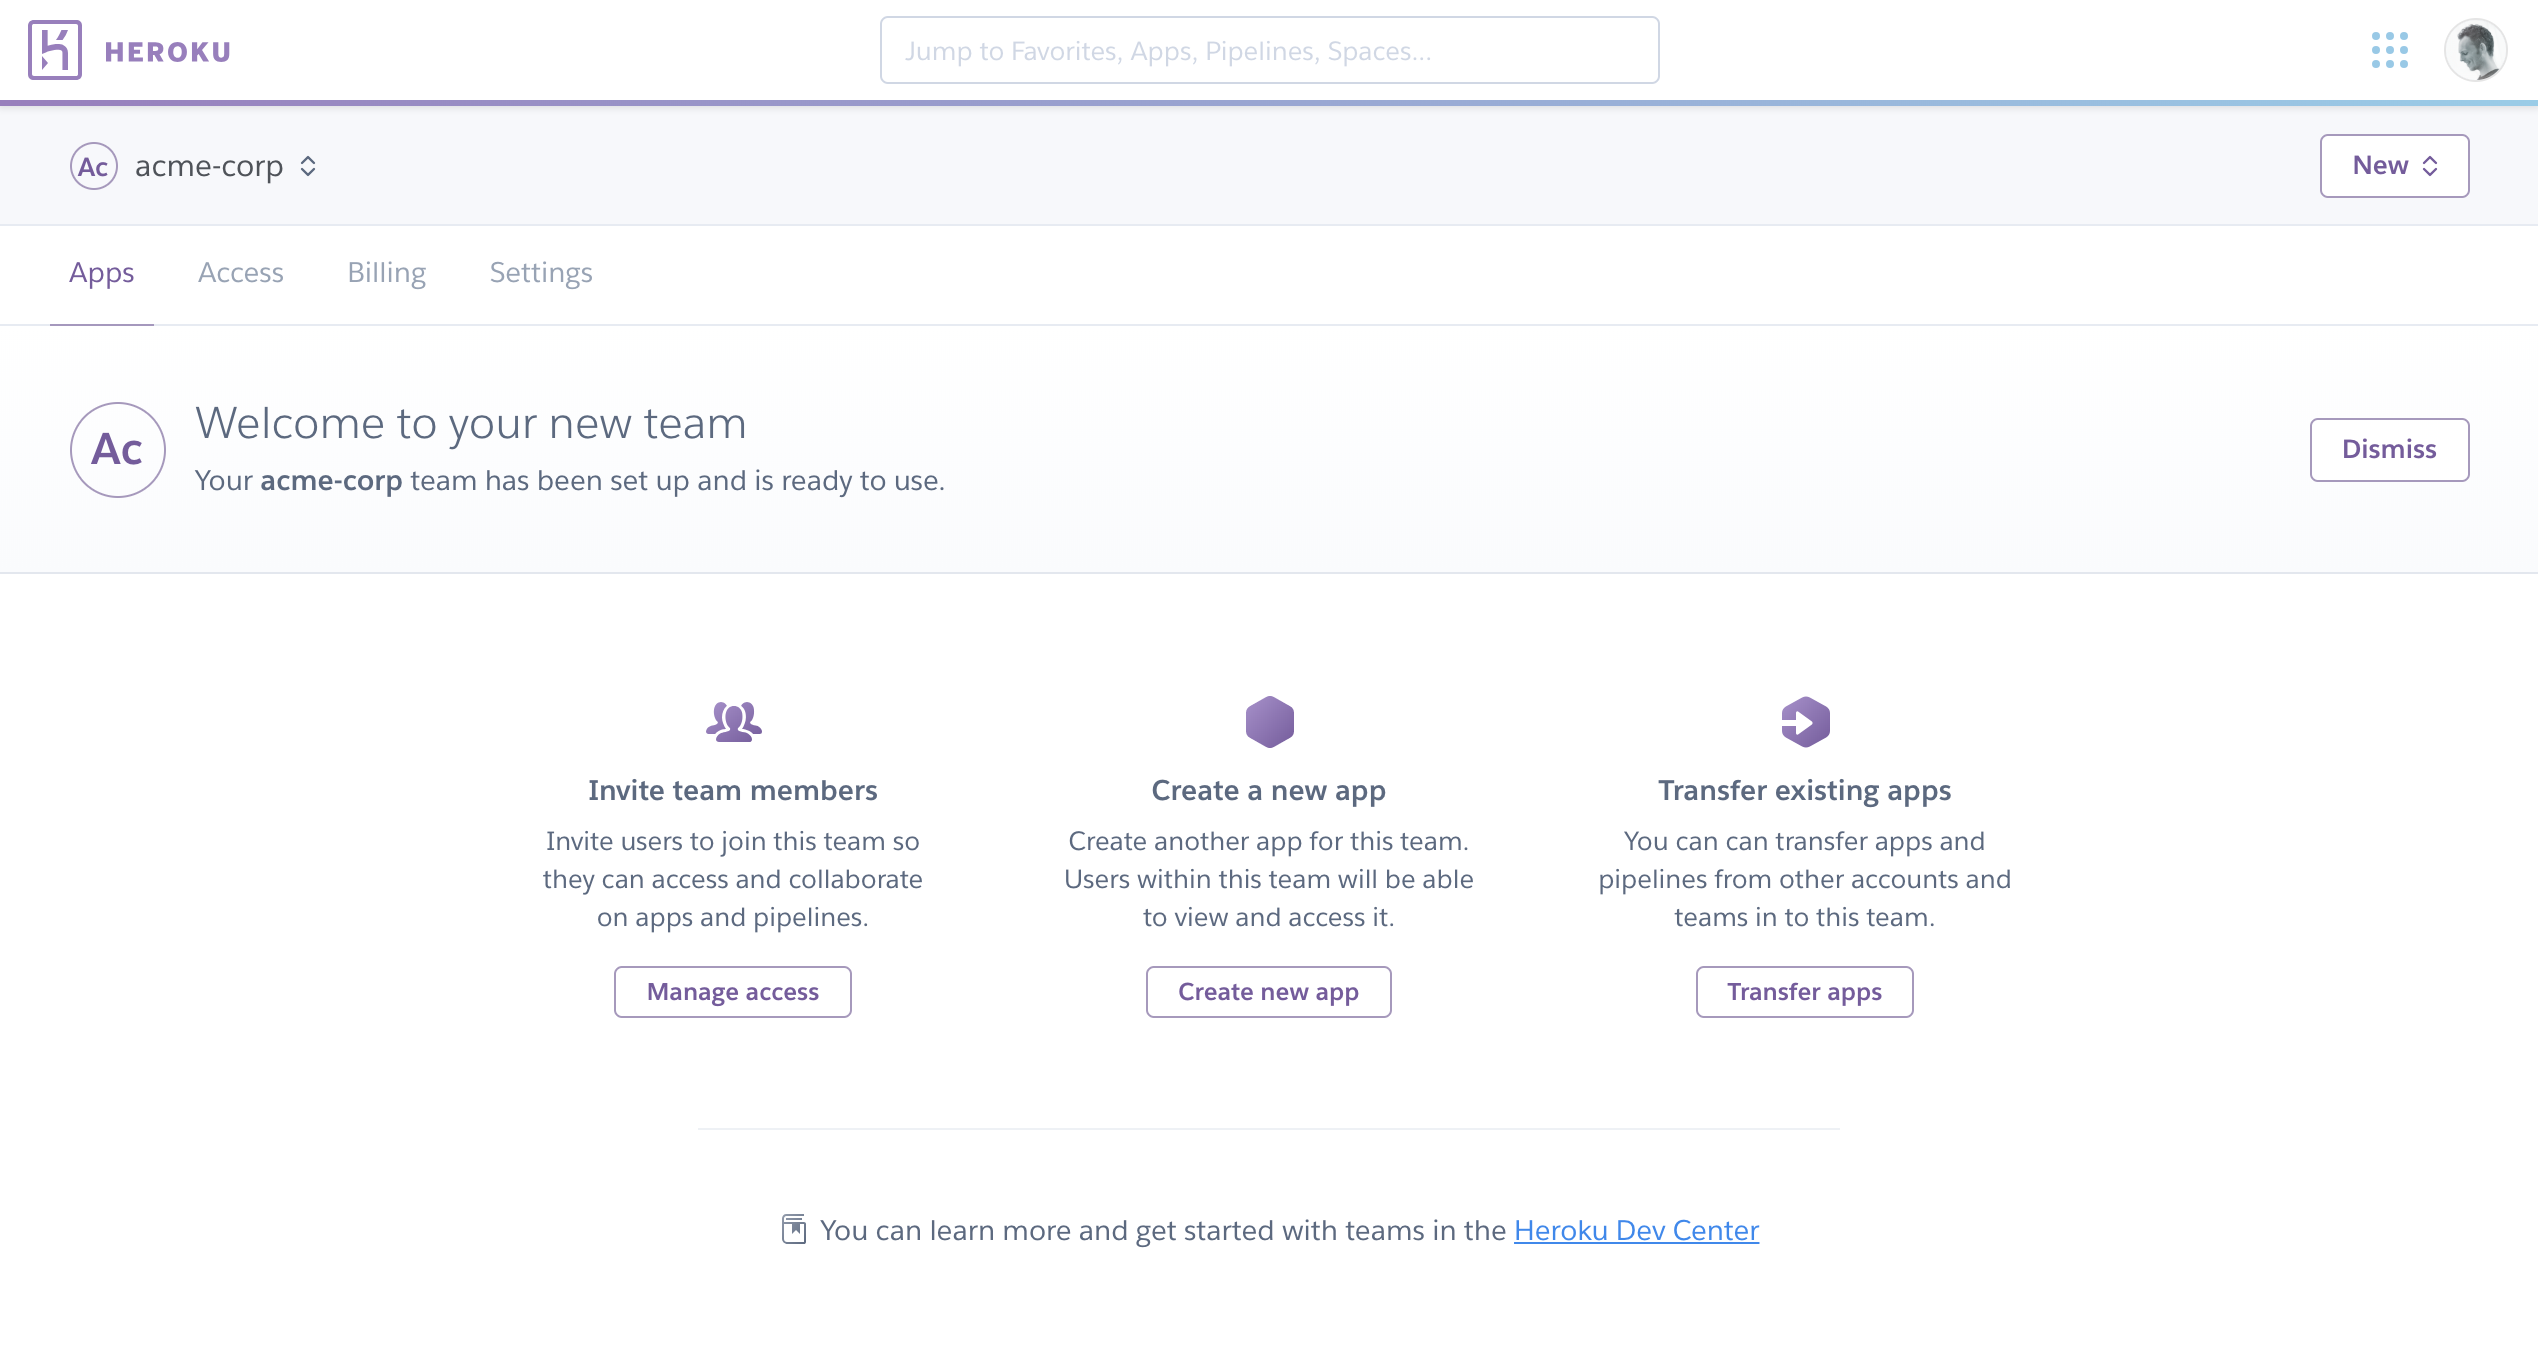
When setup is complete, you and any invited team members can see your new team listed in the Teams menu within the context switcher. Navigating to a team takes you to the app list for that team. If this team is new, some initial actions you can take are also displayed.
Pricing and Limits
We previously charged $10/month for teams larger than 5 people.
Team-owned dynos, add-ons, and other services are charged at the normal rate prorated to the second.
Eco dynos, which are available for personal apps, aren’t available to Teams.
Each Heroku account can create up to five Teams. Each Team can have up to 25 members. Contact Heroku Sales, if you hit these limits and want to inquire about options.
Managing Permissions
See Managing Team Users and Application Access and Managing App Permissions for more information on enabling fine-grained access control for your apps and team members.
Enable Single Sign-On
Implementing single sign-on (SSO) enhances security and improves the user experience by providing a streamlined login process. You can use identity providers (IdPs) with built-in SSO support for Heroku or other SAML-2.0 compliant IdPs.
Team admins can enable SSO in the Settings tab of the Heroku Dashboard. To get started, see Using Single Sign-On (SSO) Services with Heroku, for Administrators.
Limit Access to Apps via OAuth
Heroku admins can deny OAuth access to team-owned resources from all non-Heroku products and services. Turn off third-party OAuth access to the Heroku Platform API in the team’s Settings tab.
Heroku Private Spaces
Private Spaces are dedicated environments for running dynos and certain types of add-ons within an isolated network. They enable you to build and run Heroku apps that meet strict requirements for data protection and change control. To create a Private Space, the Heroku Team must be verified with at least six paid invoices, three successful charges, and a minimum spend of $30. See the pricing for Private Spaces in the Elements Marketplace.
Shield Private Spaces
Shield Private Spaces include additional features for building high-compliance applications. To create a Shield Private Space, the Heroku Team must be verified with at least six paid invoices, three successful charges, and a minimum spend of $30. See the pricing for Shield Private Spaces in the Elements Marketplace.
Managing Billing
The Team navigation shows Apps and Access tabs to all Team members, and additionally shows Billing and Settings tabs to Team Administrators.
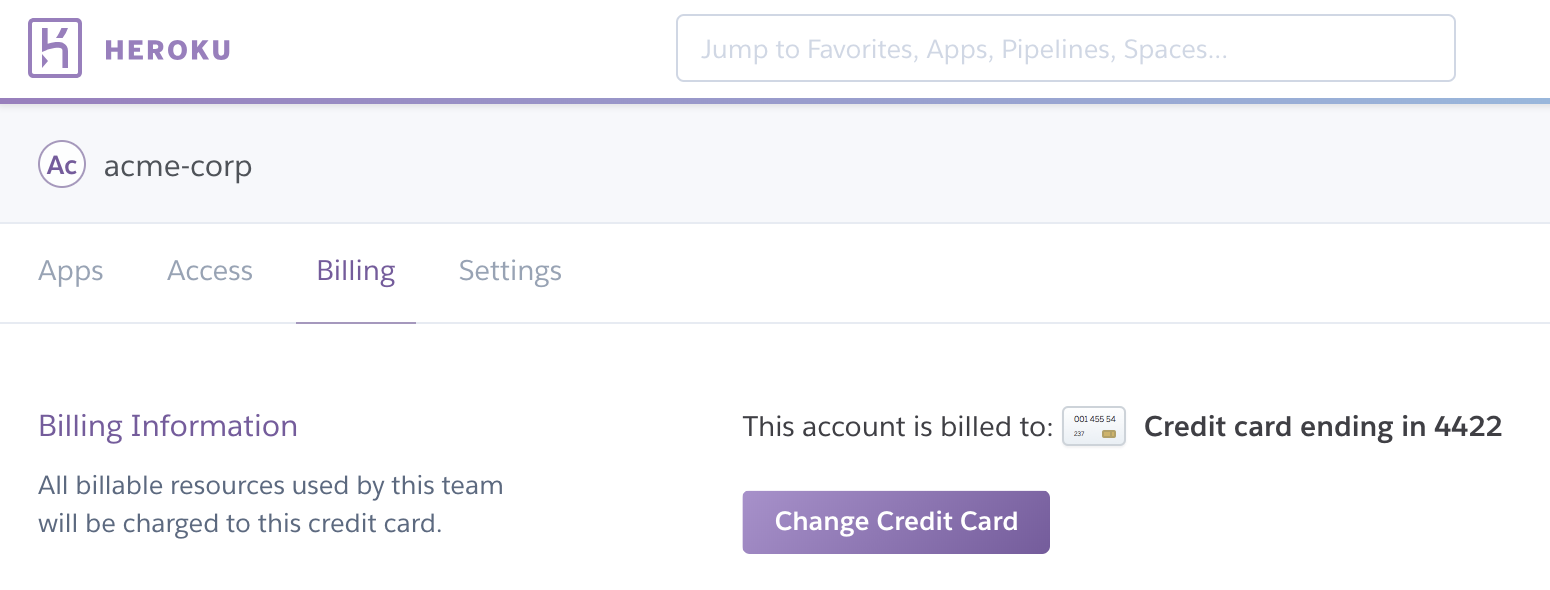
The Billing tab allows any Administrator to update the payment information for the Team.
Supported Dyno Types
Any supported dyno type, except for the Eco dyno type, can power apps owned by Heroku Teams.
Transferring Apps
The Settings tab of all apps provides an interface to transfer ownership of the app.

Bulk transfer of personal apps into a team can be done from the Team Settings page or the Heroku CLI. To transfer apps using the bulk transfer features, the owner of the personal app must also be an admin of the team.
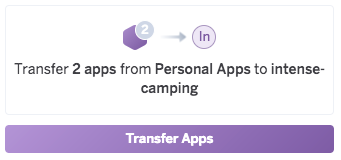
You can transfer Team-owned apps to other teams, to Heroku Enterprise Teams, or to the Personal apps area of a given user.
Permissions for all team members and admins on apps transferred to other Teams or to Heroku Enterprise Teams are preserved. Apps transferred to a user’s Personal apps area are stripped of all user and permissions associations.
You can also transfer apps to a Heroku Team from another Team, from a Heroku Enterprise Team, or from a user’s Personal apps. See Transferring Apps on how to accomplish these transfers.
Heroku CLI Support
Support for operations around your Heroku Teams is available in the Heroku CLI; usage is parallel to the usage applied to the Organizations available in Heroku Enterprise. For more information, type heroku help teams or heroku help members in the Heroku CLI prompt.
New members added to a Heroku Team via the CLI are sent email invitations that the recipient must click to accept. Invited team members who haven’t accepted their invitations and are “removed” via the CLI have the outstanding invitations invalidated and revoked. These operations are reported in detail in the CLI feedback.